Zenithal primer or zenithal priming is one of those phrases that gets used a lot but people seldom actually explain, and if they do explain it they tend to skim over the details. Here I hope to resolve that and help you actually get the real benefits from zenithal priming.
So, what is zenithal priming?
#
What is zenithal priming? Zenithal priming in this context essentially means “from above“.
Wait, isn’t most spray priming done from above?
Well, yeah a lot of rattle can primer is from above, but the point of this style of priming is you build in the shadows and the highlights right into your primer layer. Think of Zenithal primer as adding light and shadow as a foundational element.
Why zenithal primer?
You might be thinking “Why bother zenithal priming, you will just be covering it up with paint”, and you might be right.
If you use zenithal highlight with a rattle can and then add thick, opaque layers of contrast paint, you will certainly cover up your primer and possibly obscure a lot of your finer details into the bargain.
But you don’t have to use thick, opaque layers!
With thinner layers, either contrast paints or thinned regular paint, you can create layers of colour that still allows the light and dark through. Some people do quick “table ready” painted armies with not much more than this.
And besides, there is another benefit to a zenithal primer; Seeing the light and shadow.
How to prime and add a zenithal highlight with rattle cans
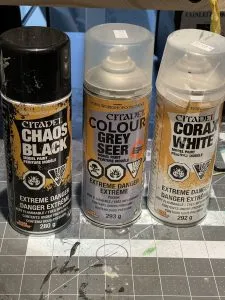
Most people who are interested in the zenithal priming method will be adding zenithal highlights using rattle cans. It is certainly doable, just use a light touch.
I was going to say this was a primer on zenithal but that would be a bad joke even for me.
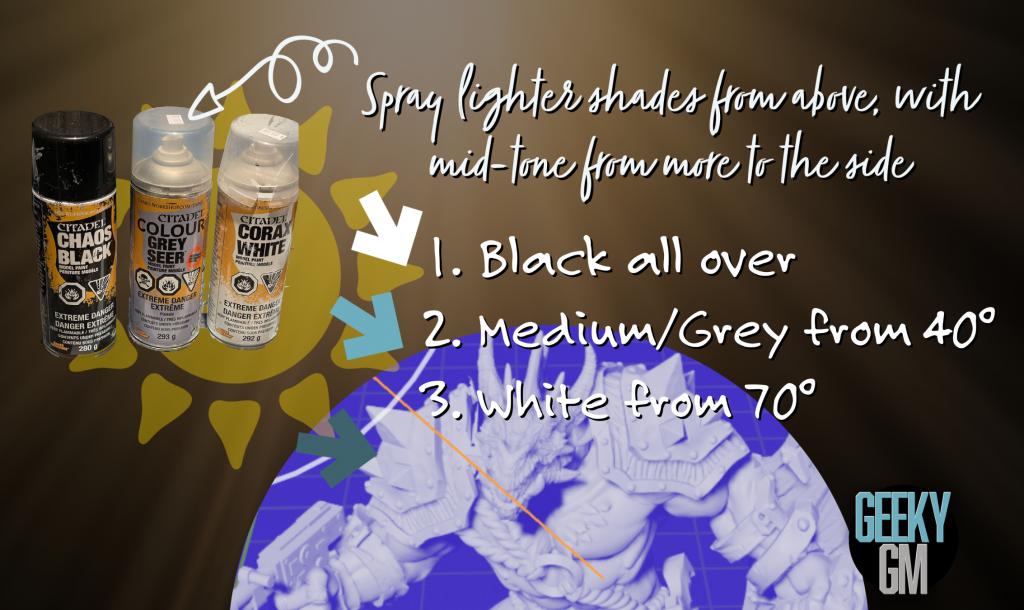
In most cases, you would begin your zenithal priming experiences using black as a starting point.
Just prime the whole thing black, and coat a thin layer everywhere. Anywhere that doesn’t subsequently get a highlight layer becomes your shadow.
This shadow we will build upon with a mid-tone. The mid-tone would be sprayed almost from the side, but a bit above. You can do a couple of passes to get a gradient between the black and the mid, or you can just block it out real quick.

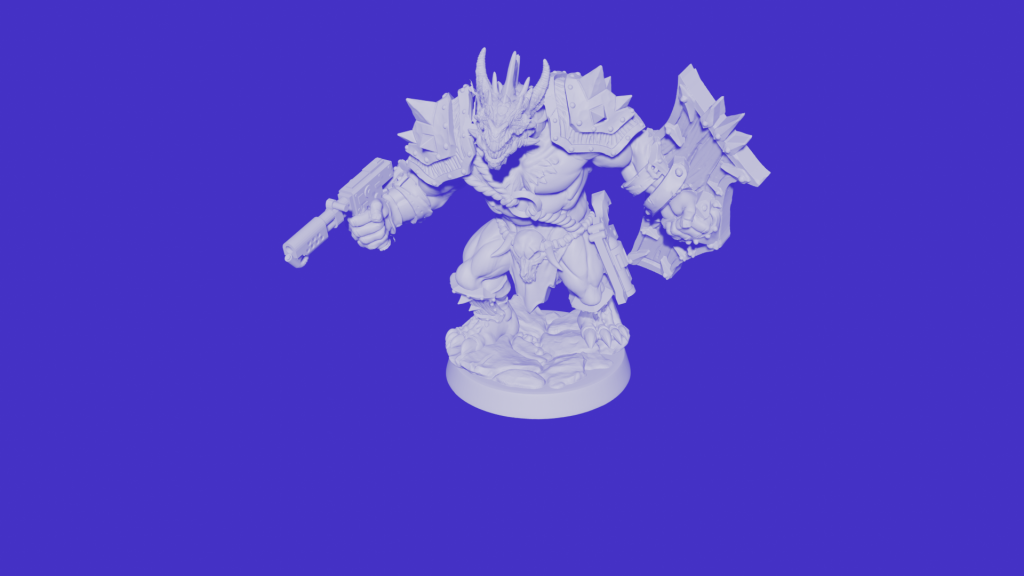

Finally, take a lighter shade of your mid-tone or white, and spray from above and a little to the side. Lots of folks say around 70° is a good place to start.
Zenithal as a lighting guide
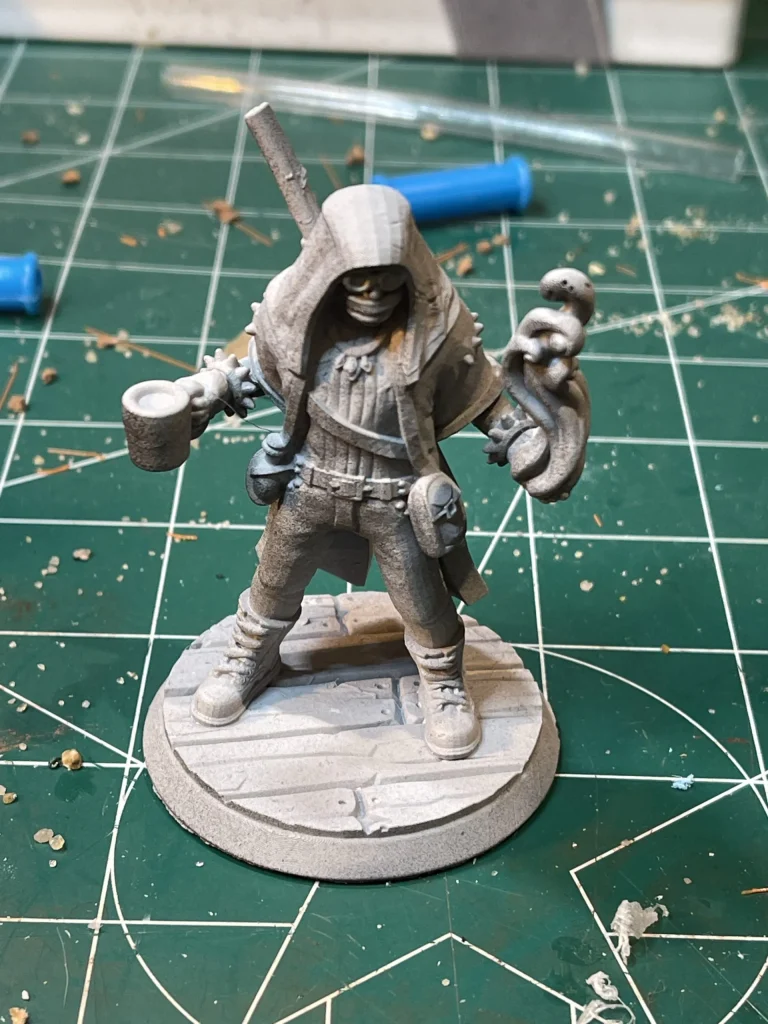
One of the things people struggle with is picturing exactly where light will fall on a figure, so that the correct illusion of light and shadow can be shaded and highlighted.
If you spray a zenithal primer, either with a rattle can or airbrush, you can use physics to lay down the highlights and shadow for you.
Now, the real experts don’t leave it at that – a lot of miniature painting is about the correct application of exaggeration after all, but for most of us this will give a really good base for the paint job.
Personally, I also look at my zenithal highlighted miniature under a lamp to really inspect where I should focus my efforts.
Zenithal highlights on tererain
It’s not just miniatures that benefit from a zenithal undercoat. I also prepare my terrain this way.
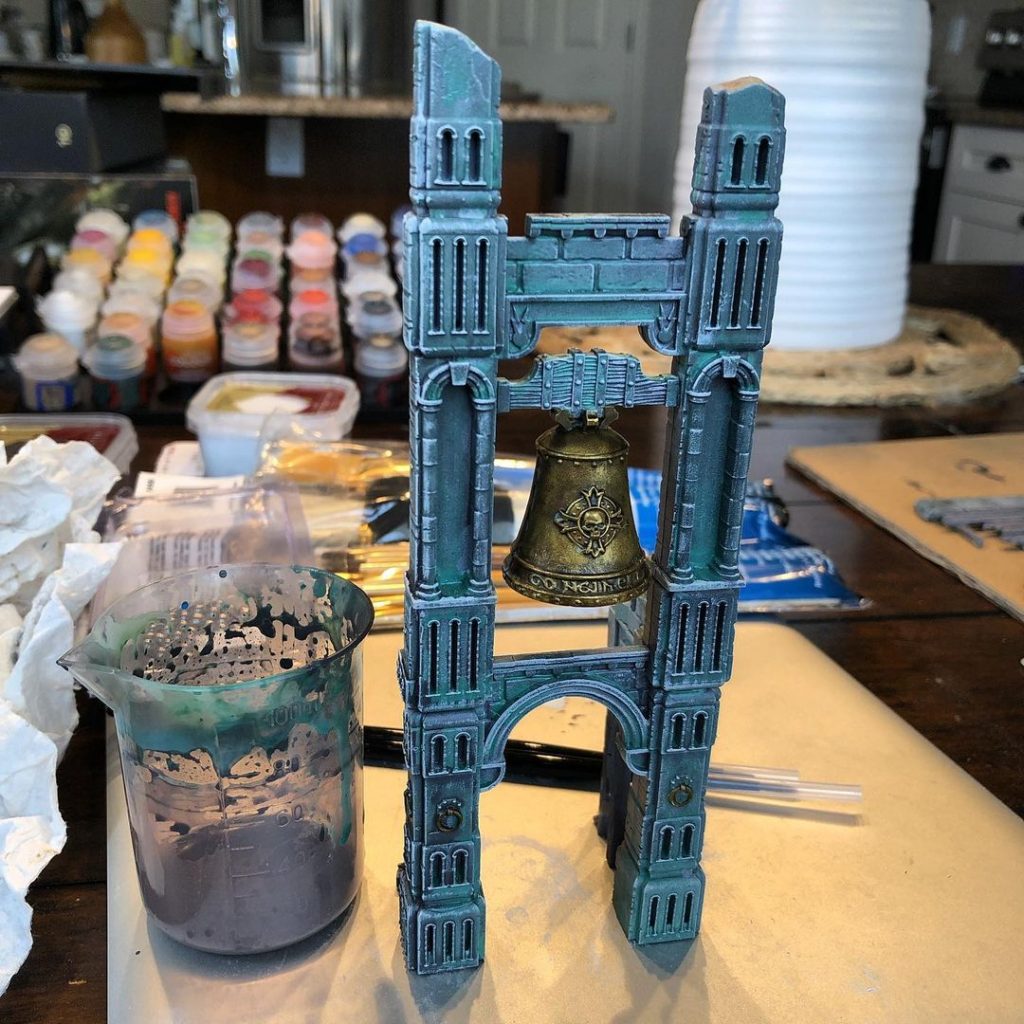
Not only does it help with contrast and make details pop, it saves a lot of time. If you have a lot of terrain to paint quickly, just doing a good zenithal primer plus some washes and dry brush can take you from “darn I have all this to paint” to done really fast.

 Build Terrain from Trash