Terrain doesn’t need to cost a lot. In fact, some of the best terrain costs very little.
Rather than putting stuff in the recycle bin or landfill, you can create some really cool scatter and buildings for your tabletop from stuff you would usually throw out.
Now, I need to address the fact that my website (and soon YouTube channel) was built out of the premise that with access to things like 3D printers, electronics, hot wire cutters, and more, people are starting to get really technical with their builds. It’s like all my hobbies are combining!
Trash builds, however, need none of that stuff. Access to extra tools can enhance your trash-built-terrain, but it is not necessary to have expensive machines to get a great result, and that is why I am starting my tutorials here.
What to build?
There are a couple of ways to approach trash-builds that are a little different from the norm.
- Look at your trash and invent terrain ideas around it
- Fit the trash to your current needs
The easiest way is the first one, because it means you build with what you have rather than try to make something fit.
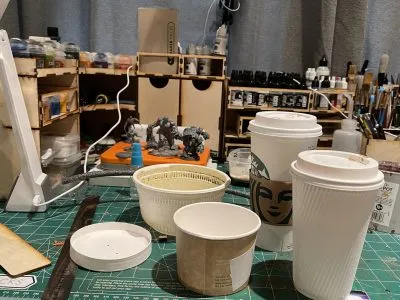
For the second to work, you will need to become a tactical-hoarder – collect stuff as you find cool textures, shapes, materials.
Of course you could also go dumpster diving! Just check local laws and that your tetanus shots are up to date …
What you need (other than trash)
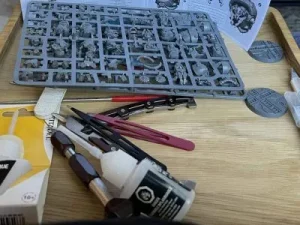
You’re not going to be able to do this entirely free because you will need some tools and stuff, but it might be things you already have. At a minimum you will need:
- Sharp knife (knives) – You will need to cut down and shape whatever it is you have found to build out of. I find a variety of sizes and types of knife are required for me to get the job done, you will at least need something like a craft/exacto knife.
- Glue – In my crafting I go through a LOT of super glue (CA glue) and accelerant, it’s my go-to, but for terrain you will find PVA glue and/or hot glue really handy.
- Paint – You don’t need to get the expensive little pots and tubes of miniature paints from the big brands when doing terrain. The bulk of my quick one-shot projects are done mainly with rattle cans from the automotive section or your big box hardware store. Just remember that foam usually melts from the chemicals used in them, and cheaper paint tends to especially hurt your lungs.
- Straight edge – I like metal rulers for this kind of thing because my clumsiness eventually makes wooden rulers look like I have been allowing a family of beavers to chew on them. As well as a straight edge you will get a fair amount of use out of a set square or some other 90 degree angle tool.
- Somewhere to work – You are going to make a mess and will be cutting, so a cutting matt is good for continuing household decorum. Don’t say I didn’t warn you.
Idea fuel
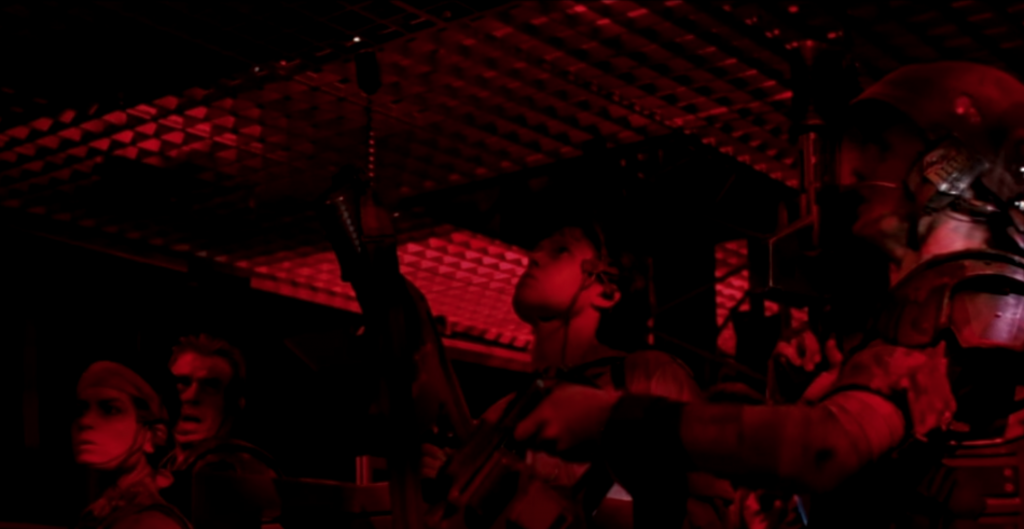
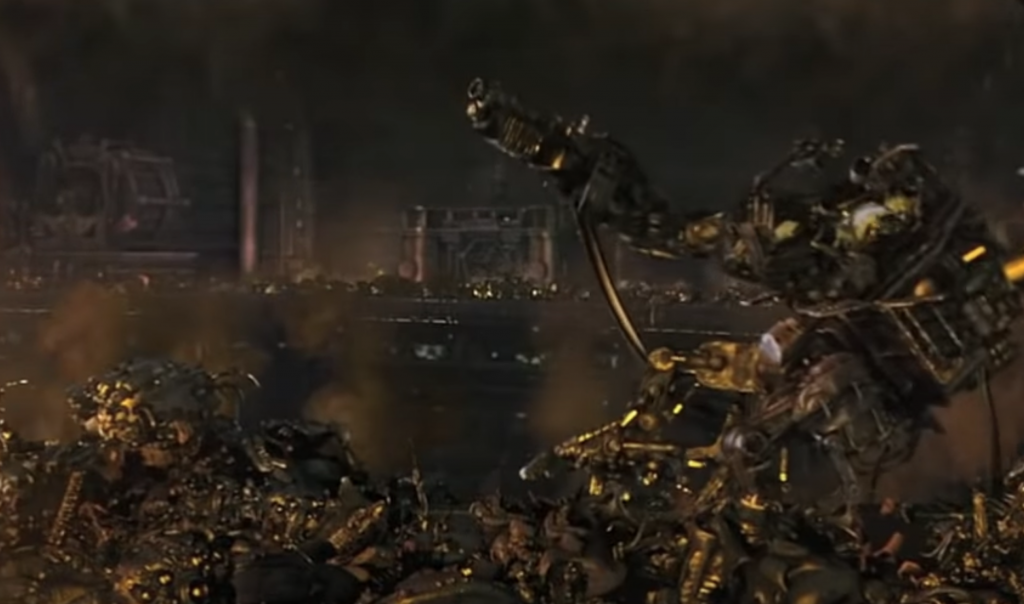
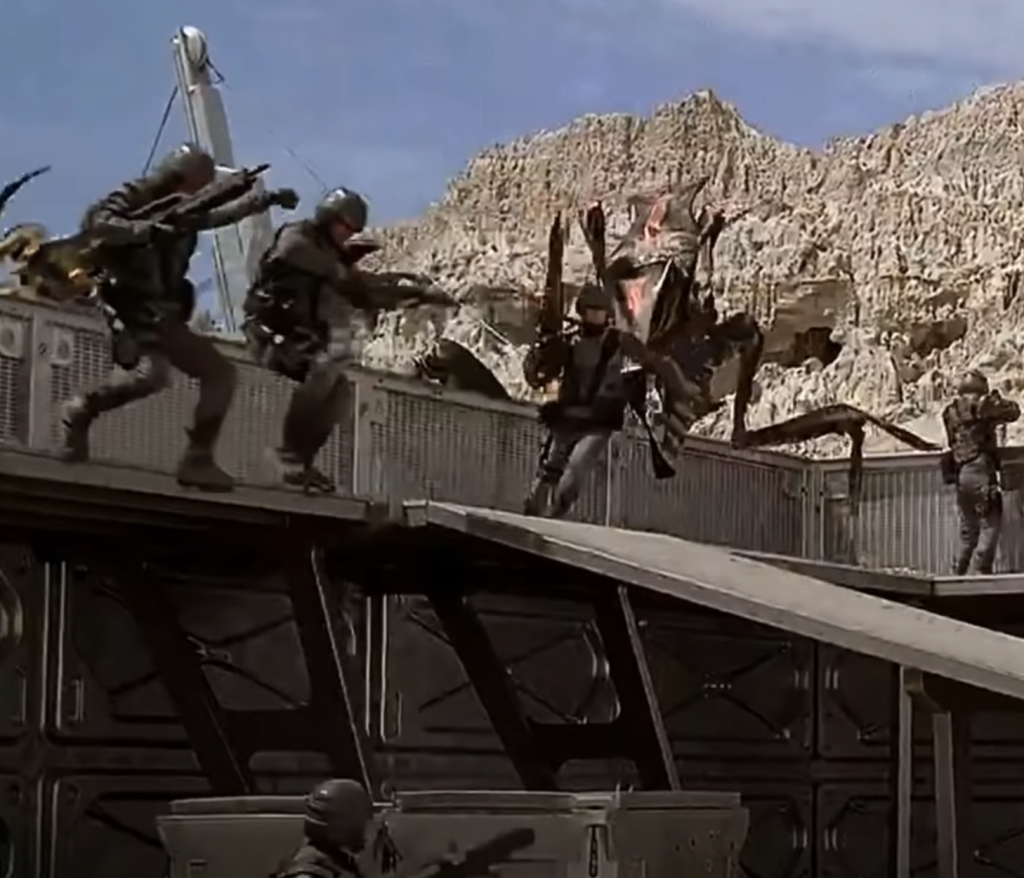
If you look at your trash and only see trash, that means you need some inspiration juice.
- Movies
- Social media
- Comics/Magazines
- Video games
You could keep a photo folder on your phone for when you see something cool, a texture, a detail, a project, a scene, whatever makes you think “that’s wicked cool I need to remember this” or words to that effect. I am not sure what the kids say nowadays. Grab screenshots, point your camera at stuff, add bookmarks, text yourself, whatever it takes.
I personally love Instagram for this kind of thing. Lots of Hashtags are constantly surfacing really amazing projects. There’s a built-in save feature there too.
Trash building process
Almost all trash builds go through the same process, and in fact most of the steps are similar when scratch-building from bought materials too.
- Sketch out or dry fit your initial ideas.
- Decide on a general plan.
- Gather your materials.
- Block out the build.
- Block out the primer and base coats.
- Embellish with detail.
- Fill the gaps.
- Add contrast, shadow, highlights.
- Finish painting and touch-up.
- Protective coat.
Each of these steps could iterate, for example I often find once I have added primer I have some big areas that still need blocking out or some part doesn’t make sense, so I go back and tweak the build.
Primer is a priority
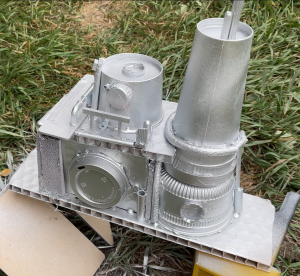
Priming with paint is one of the most important steps – it allows you to see the terrain piece as a piece of terrain and not just a bunch of stuff glued together.
Depending on your materials used you might need to give your model a few coats to get good coverage. Some materials are extremely absorbent or will show print etc through thin layers.
Even on my expensive builds, I often like to use the cheapest primer first so I can lay it on thick. My style though leans toward “grim dark” – my campaigns always take place in a “lived in” universe of grime and things breaking down. If your campaigns are high fantasy or Star Trek style utopian sci-fi, you might want to make everything a bit more pristine which means you will need extra patience.
Regardless, when spraying do it in a well-ventilated place, protect your lungs with some kind of mask if you can, and don’t just blast the thing. Get a good distance away and use sweeping motions with your rattle can.
Priming out of a paint pot? Use several light coats with a soft brush rather than slather it on with the brush you used to stain your back deck.
Details, details
One of the most difficult things about this entire process to teach is adding the details.
It’s so subjective, and takes “taste”.
How do you know when you have added just enough detail? Just like any art, you know it when you see it.
Details can be painted, they can be LED lights, they can be decals, posters, weathering … or they can be “greeblies”.
Greeblies and Greebles
The word “Greeblie” was coined by George Lucas when discussing the little added details on Star Wars space ship models at ILM.
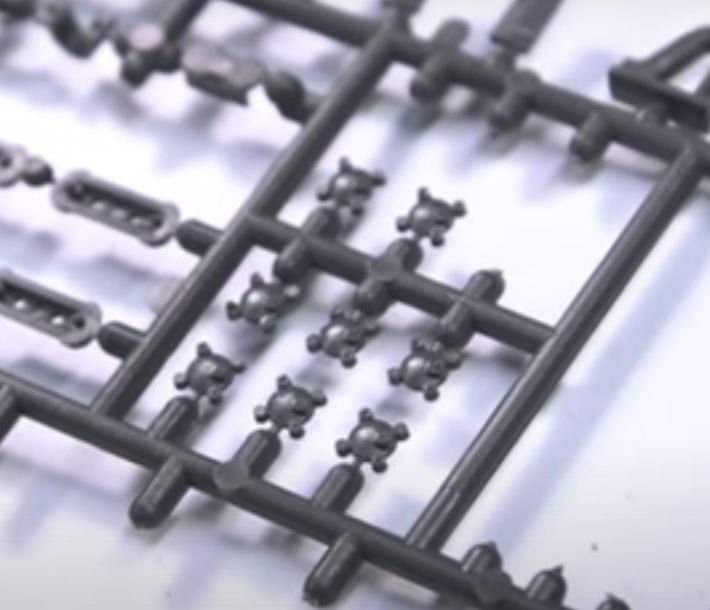
As you build kits, don’t throw away your “bits” that are left over.
In fact, some people buy whole kits to use especially for adding details and kit-bashing. World War II battleship, tank and artillery kits are famously used for this purpose.
When used well, greeblies add to the realism and sense of scale of a model, especially when painted with shadow and highlights. They trick your eye into believing that the arrangement of shapes have purpose, and if you could only zoom in there would be further detail to see.
Bonus Tips
- Clean the trash – not just because, well, ewww, but also any oils, grease, wax, etc might stop glue and paint bonding correctly.
- Don’t stress – This is meant to be fun. If it stops being fun then no harm done, start over, pull it apart, or throw it away – it was trash anyway, and time spent learning (even from mistakes) is never a waste.
- It’s not a competition – It’s unlikely any of us will win competitions, not least because very few of us will enter crafting competitions! If you are like me, this is a hobby we enjoy doing, not something we are looking to be graded on. So don’t grade yourself either.
- Awareness – As well as inspiration, be on the lookout for things that are cool and figure out how they were built, what they were made of. Even actual buildings and actual terrain, everything is made up of simple geometric shapes at their foundation.
- Community – Find like-minded people and hang out. They say we are the average of the people we spend time with. Spend more time with tabletop nerds and talk about this stuff! Get some support and encouragement, especially.

 Welcome to D6Combat!