LED lights add a great deal of atmosphere and interest to your terrain, but I know from talking to many terrain builders, electronics and soldering can be a barrier.
Here’s how you can get quick and easy LED lighting effects in your terrain projects, without soldering, and with no dollar-store LED candles in sight!
While I love to program and solder my own circuits, and have published a full, free online course about building electronics projects with Arduino, even I can acknowledge getting elbow-deep in wiring isn’t always necessary or the best solution in every case.
Start with the Solderless LED “Throwie”
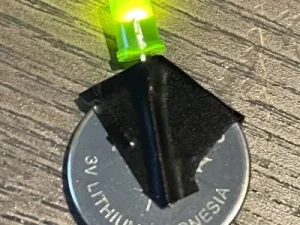
Back when people could meet in person for events, we would hold an annual nerd get-together called “Maker Faire”. One of the more fun beginner projects was the LED Throwie.
Essentially an LED throwie is an LED light, strapped to a watch battery, often with a magnet, that you would then throw somewhere. The accumulated throws would then create a pretty light display.
Attaching an LED to a battery is the most simple way you can illuminate your terrain project, too. The long leg of the LED usually goes on the + side of the battery, and the shorter leg on the – side. If it doesn’t work, check you are making good contact or flip the sides. Your LED or battery could be a dud too.
Is this the “correct” way? Heck no, but who cares if it works?
Depending on your batteries and LEDs, this arrangement will work way well enough to last your D&D/skirmish session, and probably long after.
Strictly speaking, between your LED and your power source, there ought to be a resistor. Resistors restrict the flow of electrons so you don’t burn out the LED or drain the battery. Seeing as both are super cheap, most people focusing on one-shots anyways won’t care.
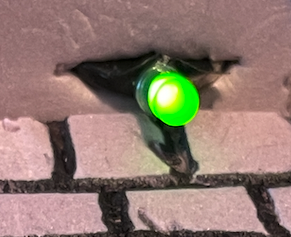
If your terrain is 3D printed or carved out of XPS foam, you can embed this setup right into the terrain:
Pre-Soldered LED strands
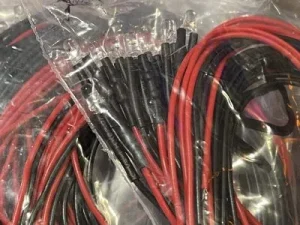
Longer-lasting options also exist, with the added benefit of getting the power source and the light further away from each other.
These guys come with the correct (or close-enough) resistor for the LED, just make sure you get the correct voltage. My usual go-to voltages for this kind of thing are 5v or 3v, maxing out at 9/12v. All my electronics projects are the former and I would only use the latter if I had to.
Even with LEDs … Size Matters
As well as voltage variations, you can also, of course, get various colours and sizes.
Take into account the scale you are working at and what you want to illuminate with the LED when choosing size. I find 5mm probably the largest I commonly use (for, say, a bonfire, or to light up an industrial scene), with 3mm being good for decorative pieces in terrain (like lamps, signs). You can even get smaller, which with some care can be wired directly into your miniatures!
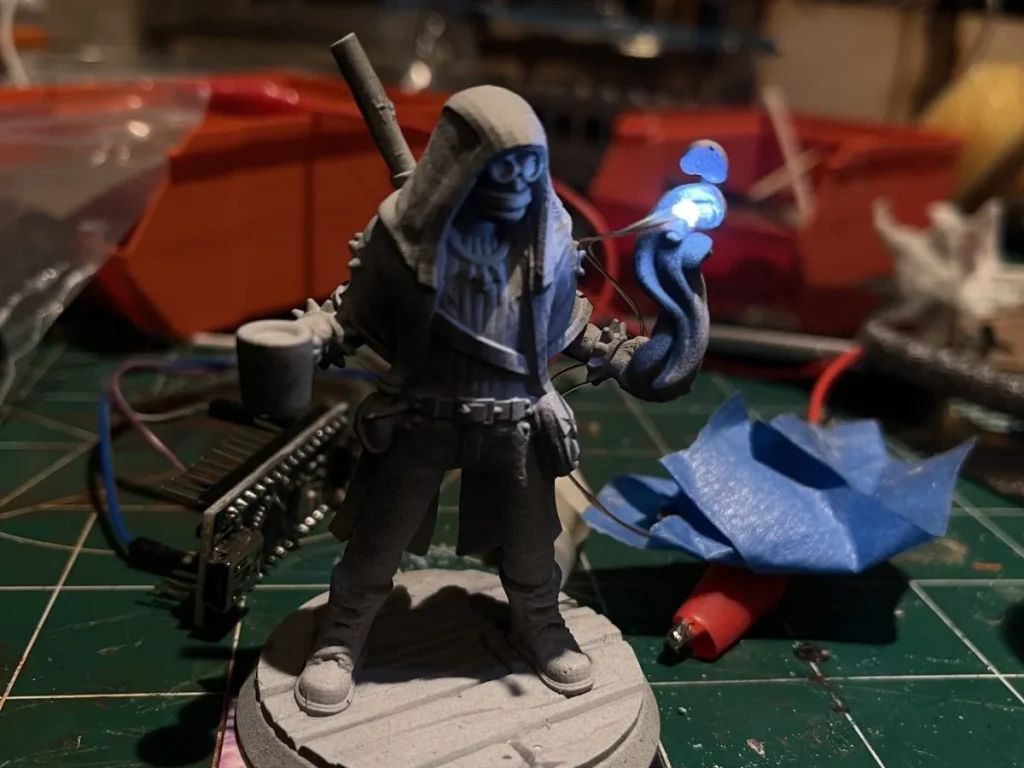
For miniatures, you don’t have to go with the tiniest LEDs, however. You can get “fiber optic” strands that work a lot like the telecoms version, but much cheaper and less refined. You’ll have seen them used in cheap Christmas decorations and “mood lights”. I used a strand and a 5mm LED to light up the eyes of one of my goblins for a campaign.
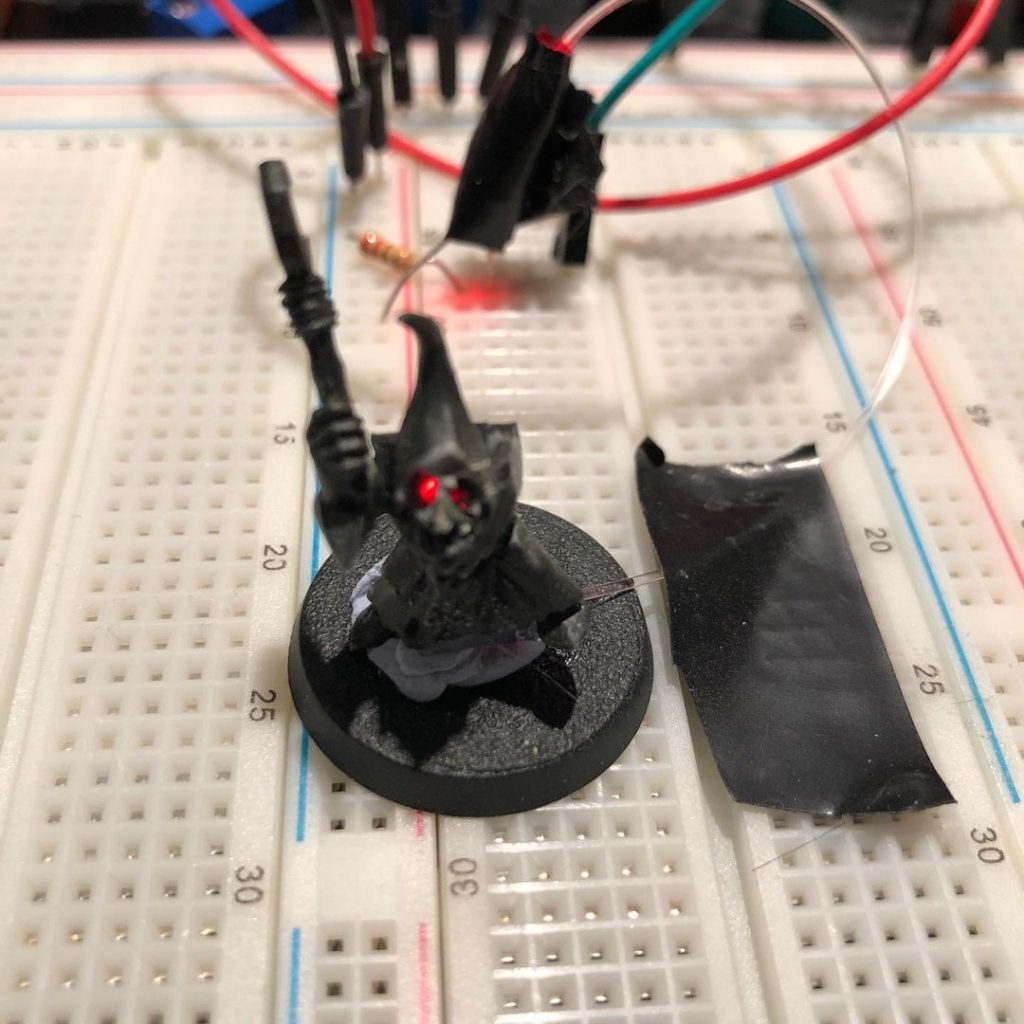
I need to connect wires to my LEDs, guess I need to get the soldering iron out?
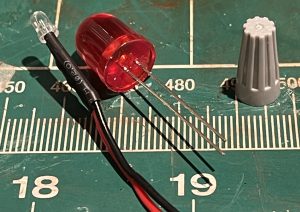
Not so fast! There are some thingies used here in electrical wiring called wiring nuts? Something like that. Even household lighting is wired up this way, no soldering required.
If you have a lighter or hot air gun, there is shrink tubing – that’s how those pre-wired LEDs come (though I expect there is solder under there rather than just using the shrink tube to adhere it all).
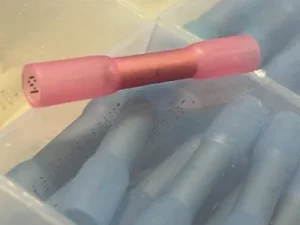
Speaking of solder and shrink tube, there are connectors that you melt to make the connection, solder without a soldering iron!
The plastic shroud melts down and shrinks, while the blob of solder joins the electrical connections inside. Pretty clever! They can be really cheap if you don’t mind waiting for overseas delivery too.
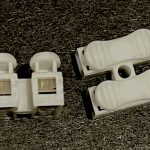
For temporary connections, these spring-loaded clip thingies work a treat. You press down the little lever piece and it allows you to insert a wire from that side. Do the same on the other side and an electrical connection is made. Not cheap, but they certainly help with the prototyping or if you want to be able to tear the project down at the end of your game.
What about Superglue (CA)?
After this post went live, I was asked if you could use glue instead of solder. I was skeptical but did my research and it seems some people have had success. After trying it out, I learned some things.
First, I confirmed that you can use glue, but not instead of solder. CA glue doesn’t make a very good conductor of electricity, in fact I would describe it as an insulator but if you are very careful you can glue the plastic of your wires.
So long as you have metal to metal contact for the electrons to flow it could work, but I wouldn’t recommend it personally.
I want my LED light to flicker like a candle, back to the dollar store?
No! and not only that, don’t settle for just yellow candle coloured LEDs!
While I would not stop anyone cutting up faux candles, especially when some come with batteries included as well as the LED, if you find yourself using them a lot then you are better off buying the LEDs that do this in bulk.
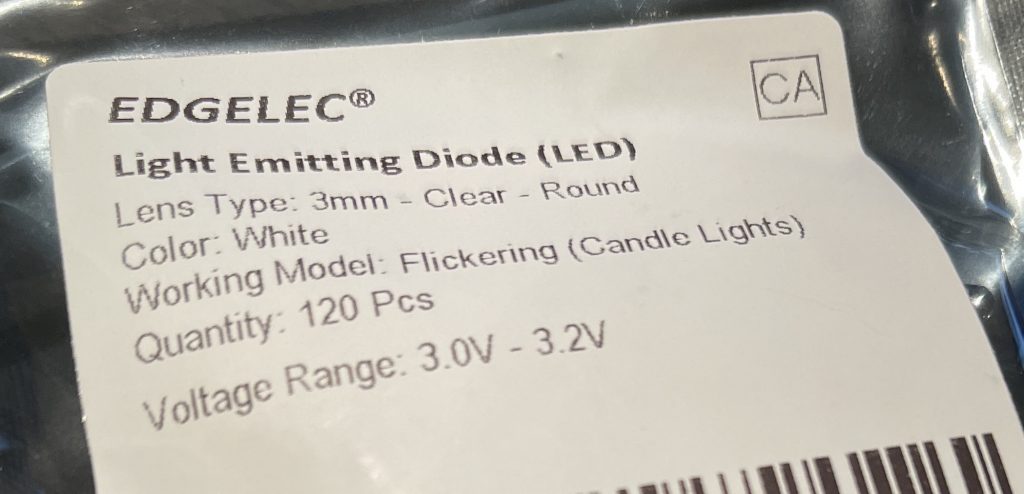
Of course at this stage I would be gently reminding you that you don’t have to settle for on, off, or flickering, when you have the power of electronics programming at your disposal, but that would be a guide for another day …


 Quick and Cheap Industrial Grimdark Grime Weathering